Train an Object Detector
In this tutorial, we will train an object detection model in SkyhookML, and apply it on new data. If you haven't already, you should deploy Skyhook. Let's get started!
Import and Annotate Data
First, we need to import images and bounding box labels for training the detector. We'll cover three alternative options (just choose one!):
- Use our example dataset containing images from a traffic camera, with car labels.
- Upload your own images and annotations.
- Upload your own unlabeled images or video, and label the data inside Skyhook.
Alternative A: Use an Example Dataset
Using our example dataset is the quickest way to try out Skyhook. Start by heading to Datasets (in the sidebar):

Press "Import SkyhookML Dataset", and select the URL option:
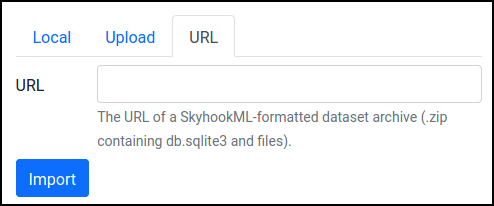
Enter this URL for the image dataset: https://skyhookml.org/datasets/tokyo-images.zip
You'll need to repeat this for the dataset containing bounding box labels as well (yes it's a bit clunky now, we're working on it): https://skyhookml.org/datasets/tokyo-labels.zip
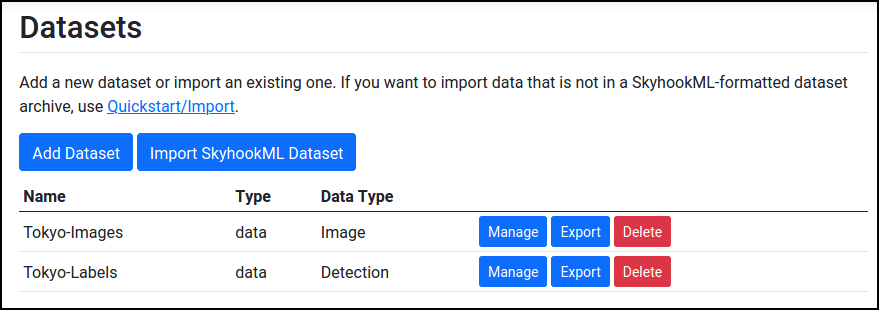
After both imports are complete, you should see them in Datasets:
Alternative B: Upload your own Annotations
If you already have your own annotations, it's easy to import them into Skyhook! Or at least easy if the labels are in the YOLO .txt format or the COCO JSON format.
Head to Dashboard and select Import Data:
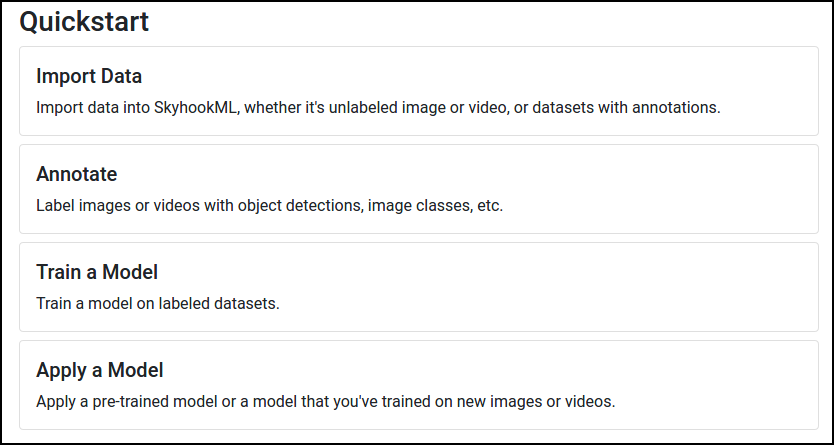
And then select Object Detection Labels:
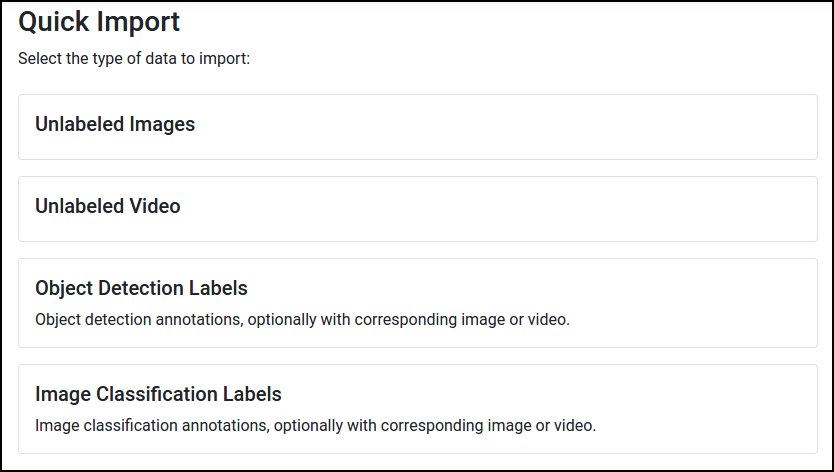
Follow the instructions there to complete the import process. Your data will automatically be converted into Skyhook's internal format.
Alternative C: Annotate in SkyhookML
So, you just have a bunch of unlabeled image or video files. That's OK -- Skyhook has a basic bounding box annotation tool built-in! (You can also try out a dedicated annotation tool like cvat, and then import the labels into Skyhook using the steps in the previous section.)
First, import your data: go to Dashboard, press Import Data, and select Unlabeled Images or Unlabeled Video.
If you imported video, you'll need to sample images from the video before we can annotate it. See the Sample Images from Video guide.
Once you have a dataset of images in Skyhook, go back to Dashboard, and press Annotate. You should then be prompted to select an annotation tool:
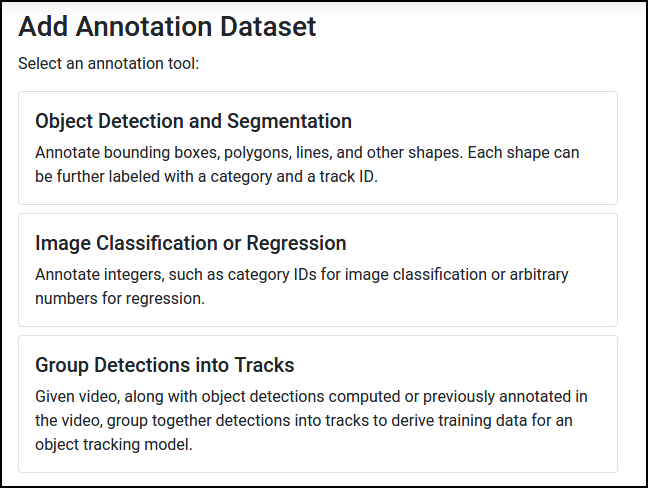
Now we can create a new annotation task for object detection. You can fill out the form something like this:
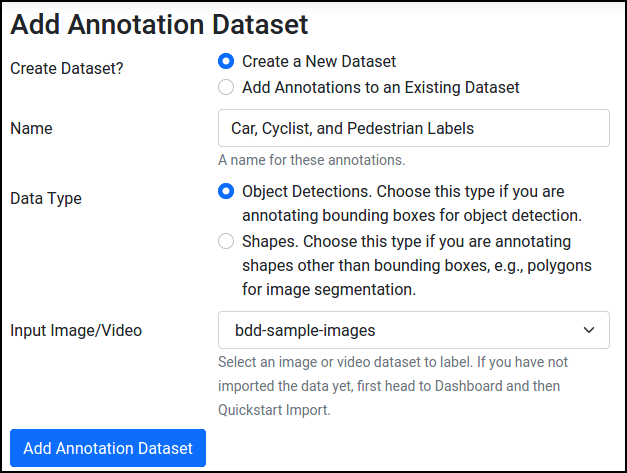
Finally, start annotating -- go to Annotate and select the annotation task you just created:
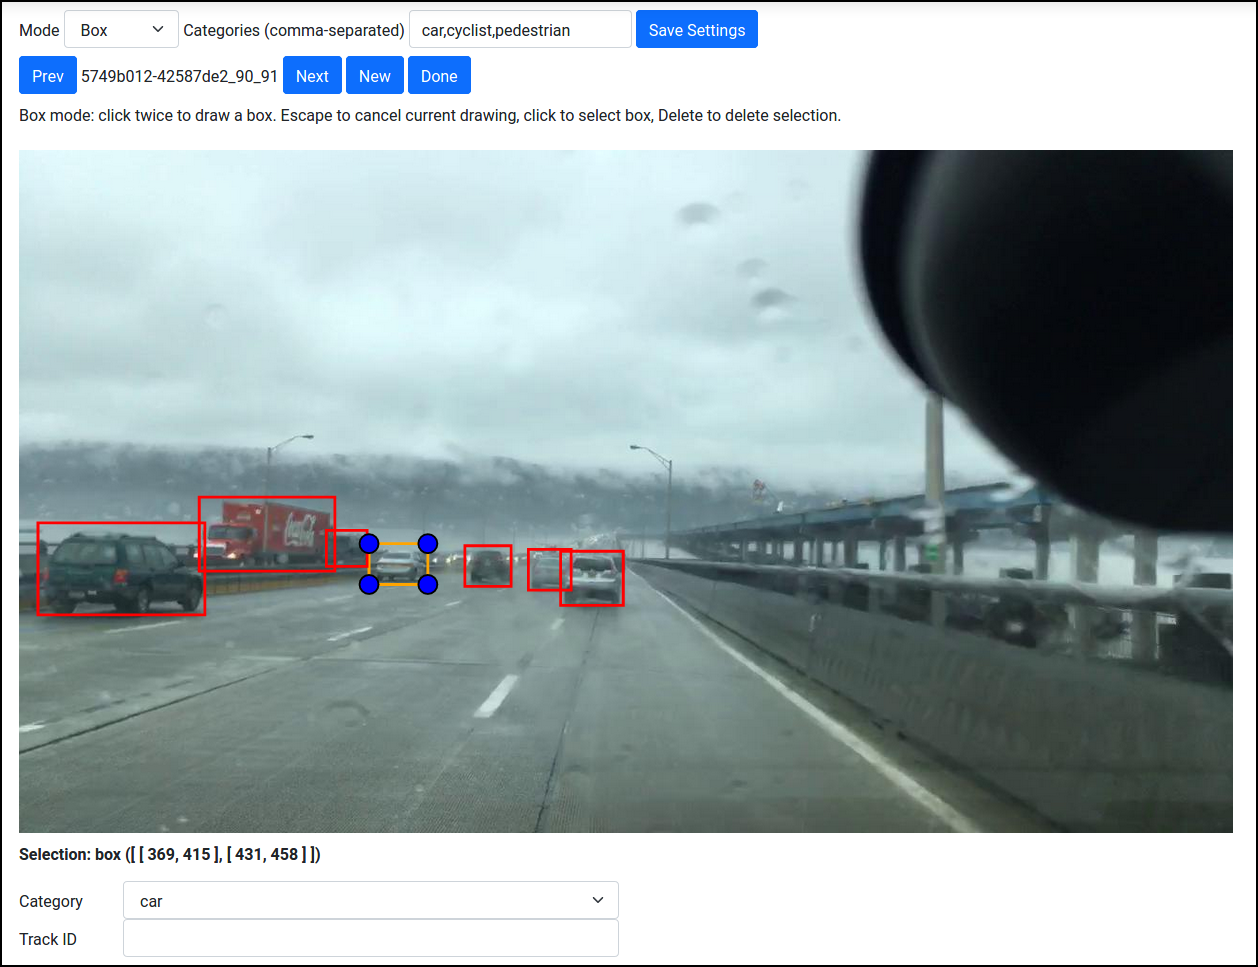
Some tips:
- Click once to start drawing a box, and click again to finish it.
- Press Escape to cancel the current box.
- Click on an existing box to select it. You can then resize it. Or press the Delete key on your keyboard to delete it.
- If you're annotating for multiple classes, set the categories (types of objects you want to annotate) in the Categories field at the top of the tool. You'll then be able to choose a category after selecting a box.
Train an Object Detector
At this point, you should have two datasets:
- An image dataset containing some images.
- A detection dataset containing bounding boxes correspond to those images.
If so, that's great, because that's all you need to train an object detector! Go to Dashboard, and select Train a Model:
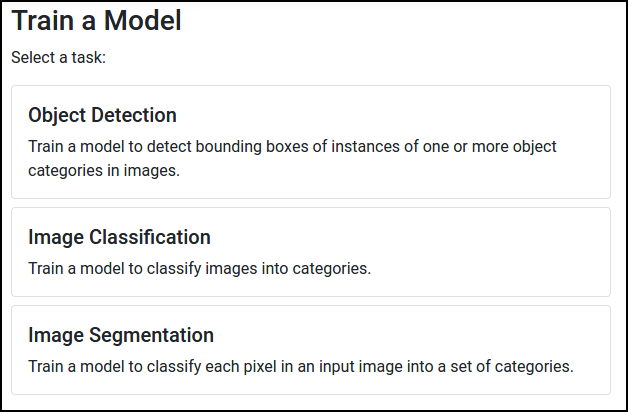
Select Object Detection. You'll then be able to choose which model architecture you want to train. Here's what we recommend for a first run:
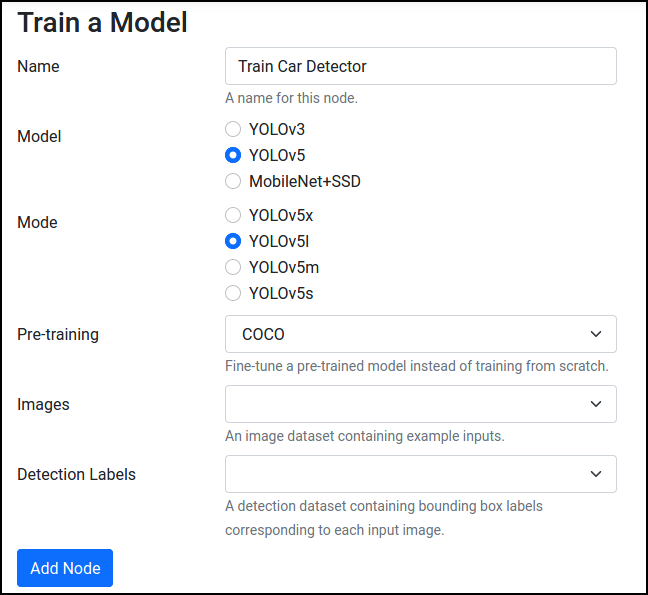
Some notes:
- We use the YOLOv5 implementation by Ultralytics here: https://github.com/ultralytics/yolov5
- By choosing COCO under Pre-training, pre-trained model parameters will be imported into your Skyhook instance, and training will initialize from those parameters.
After pressing Add Node, a training node will be added to the execution pipeline:
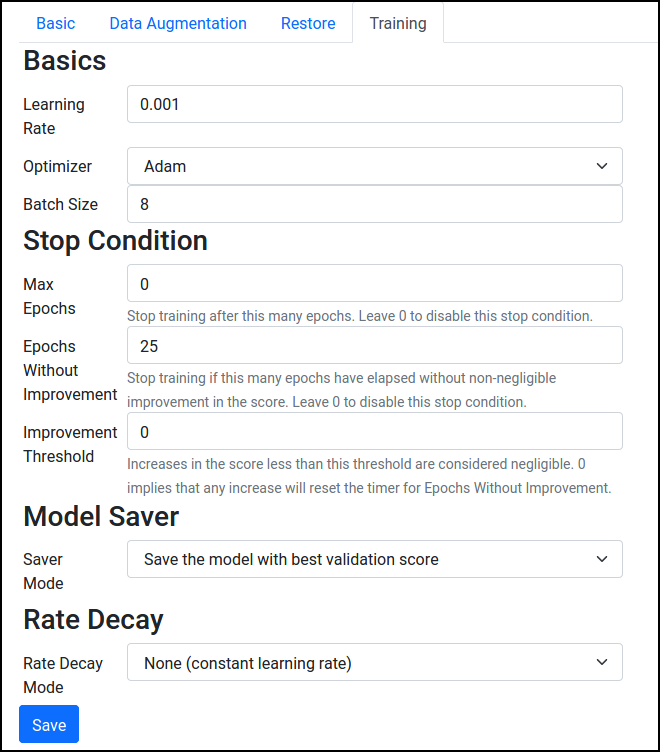
From here, you can select a wide variety of options, like data augmentation steps to employ, the learning rate, etc. For now, just select an input Width/Height under Basic. If you're not sure what resolution to use, start with the default of scaling the larger dimension to 640 pixels. Then, press Save.
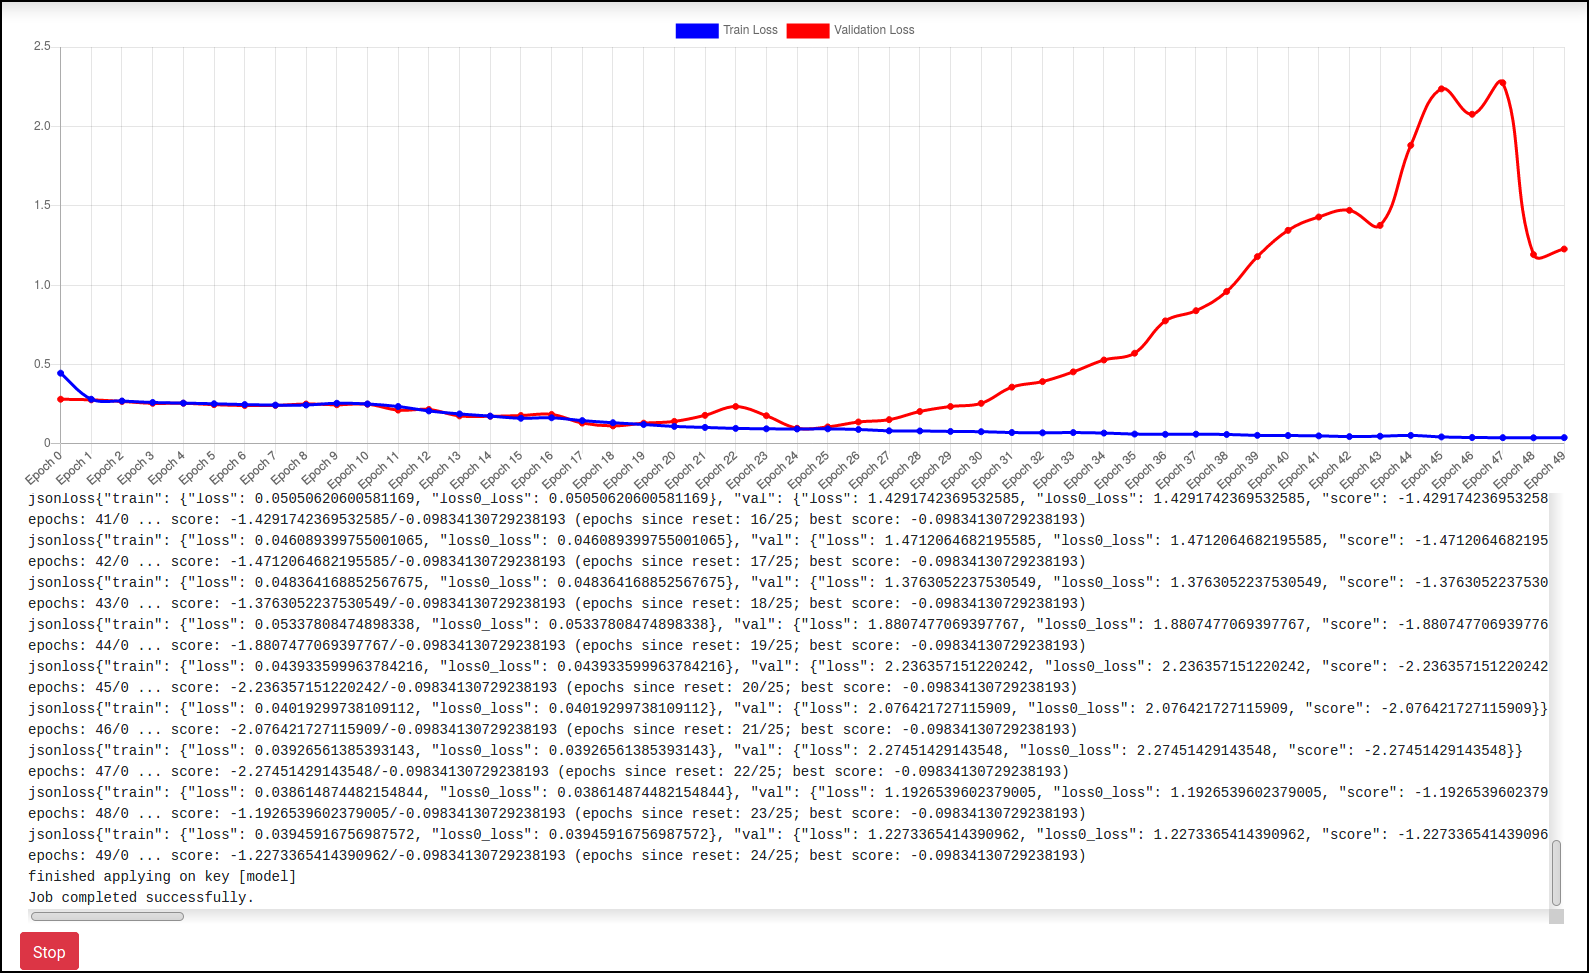
Now, select the train node from the table, and press Run. Hopefully everything works, and you should be able to monitor the training progress and visualize the training and validation loss:
Apply the Detector
Now that we have trained an object detector, we can apply it on some new data!
First, import the image or video files that you want to apply the detector on (go to Dashboard and press Import Data). If you're using our example dataset, then you can import video files from this URL (via Datasets and then Import SkyhookML Dataset): https://skyhookml.org/datasets/tokyo-videos.zip
Then, go to Dashboard, press Apply a Model, and select Object Detection. Choose the same model architecture that was used for training, and make sure to select Custom Model for the model type to use the model that was just trained rather than a pre-trained one.
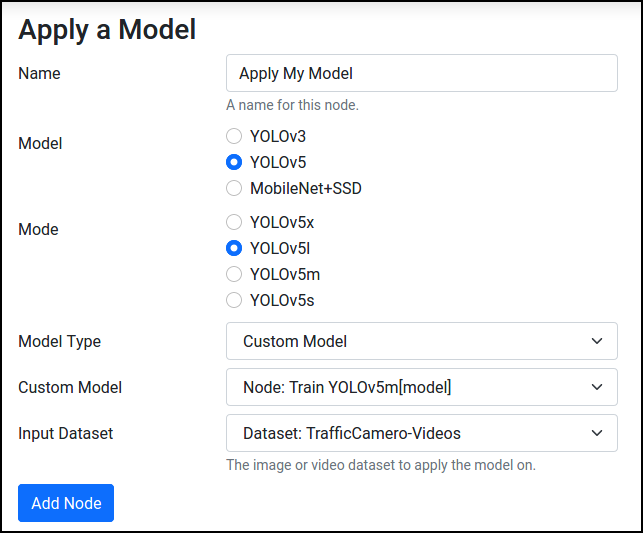
Configure the node with the same resizing options used for training, and press Save. Now, select the node and press Run.
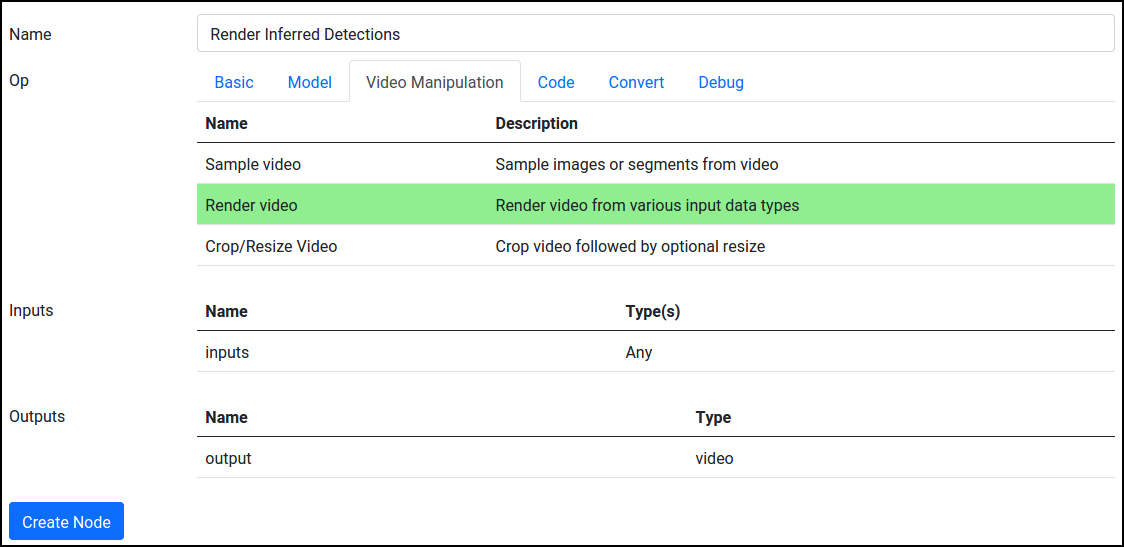
The detection outputs can now be found in Datasets in the Apply My Model[detections] dataset. To visualize them, go to Pipeline, press Add Node, and add a new Render Images/Video node under Images and Video:
Configure this node to input both the new image/video dataset and the detection outputs:
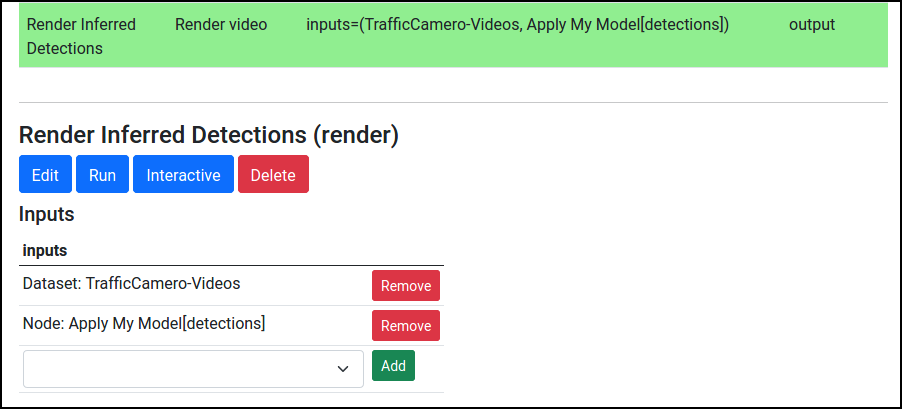
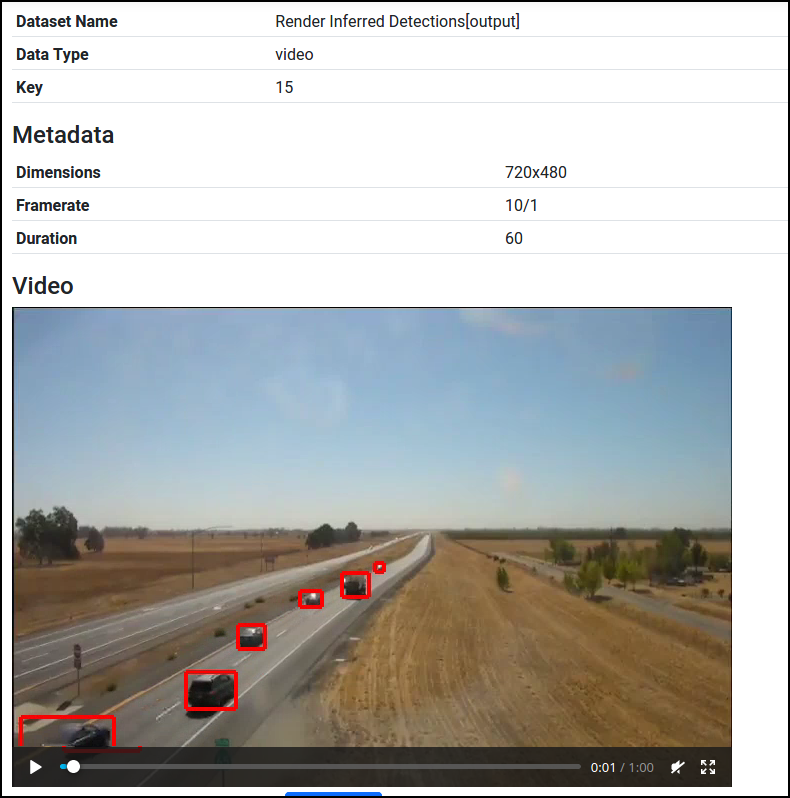
Finally, press Run. You'll be able to see the output videos from Datasets.
